


Hey there! As a supplier of sliding glass doors, I get asked all the time about how to remove these doors for cleaning. It might seem like a daunting task, but with the right steps, it can be a breeze. In this blog, I'll walk you through the process step by step.
First off, let's talk about why you'd want to remove your sliding glass door for cleaning. Over time, dirt, dust, and grime can build up on the tracks, frames, and glass of your door. This not only looks bad but can also affect the door's functionality. By removing the door, you can give it a thorough cleaning and ensure it operates smoothly for years to come.
What You'll Need
Before you start, gather the following tools:

- A pair of gloves to protect your hands
- A screwdriver (usually a Phillips head, but check your door first)
- A clean cloth or sponge
- A mild cleaning solution (like dish soap and water)
- A vacuum cleaner with a brush attachment
Step 1: Check Your Door Type
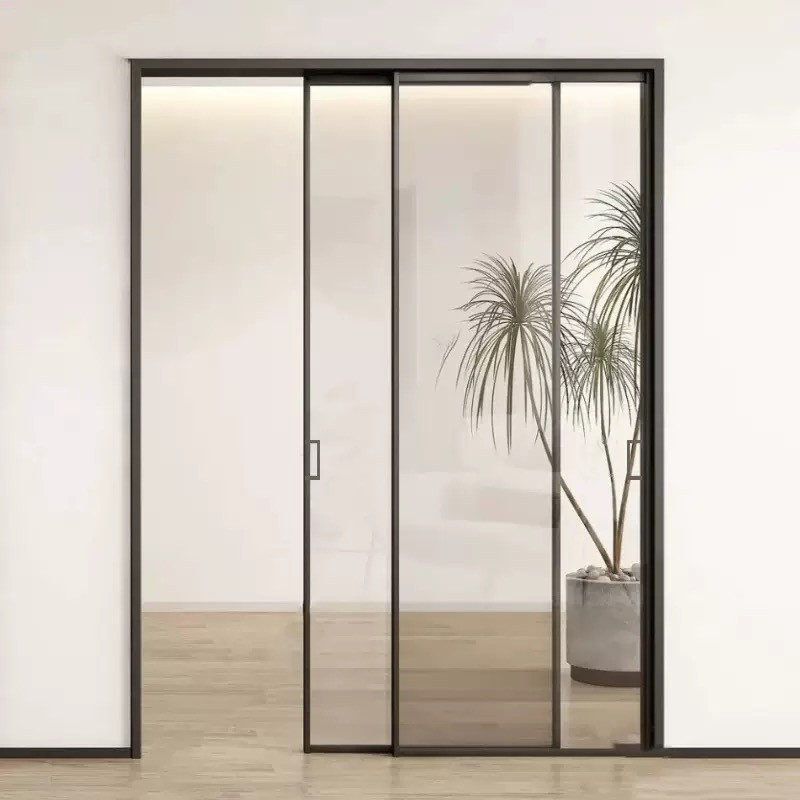
Not all sliding glass doors are the same. Some are single-panel, while others are double-panel. Some might have a screen door attached. Make sure you know what type of door you have before you start. If you're not sure, you can check out our Sliding And Pivot Patio Doors or Sliding Screen Doors pages to get an idea of different door styles.
Step 2: Remove the Screen Door (if applicable)
If your sliding glass door has a screen door, it's usually the easiest part to remove. Most screen doors are held in place by small clips or rollers. Start by locating these clips or rollers at the bottom of the screen door. Use your hands to gently lift the screen door off the tracks. If there are clips, you might need to press them in while lifting. Once the screen is free, carefully set it aside. You can clean the screen separately using a mild cleaning solution and a soft brush. Check out our Sliding Screen Door page for more details on screen door maintenance.
Step 3: Prepare the Glass Door
Now it's time to focus on the glass door itself. Make sure the door is in the open position. This will give you better access to the tracks and rollers. Put on your gloves to protect your hands from any sharp edges.
Step 4: Locate the Rollers
The rollers are what allow the door to slide smoothly along the tracks. They're usually located at the bottom of the door. Look for small screws or bolts on the bottom of the door frame. These are used to adjust or remove the rollers.
Step 5: Remove the Rollers
Using your screwdriver, carefully loosen the screws or bolts that hold the rollers in place. Be careful not to drop the screws or lose them. Once the screws are loose, lift the door slightly to disengage the rollers from the tracks. You might need to wiggle the door a bit to get it free.
Step 6: Lift the Door Out
With the rollers disengaged, you can now lift the door out of the tracks. Make sure you have a clear path and enough space to lift the door safely. It's a good idea to have someone help you, especially if the door is large or heavy. Once the door is out, place it on a soft surface, like a blanket or a piece of cardboard, to prevent scratching.
Step 7: Clean the Door and Tracks
Now that the door is removed, it's time to give it a good cleaning. Use your clean cloth or sponge and the mild cleaning solution to wipe down the glass, frames, and tracks. Pay special attention to the tracks, as they tend to collect a lot of dirt and debris. You can use the vacuum cleaner with the brush attachment to suck up any loose dirt in the tracks. For stubborn stains, you might need to use a little more elbow grease or a specialized cleaning product.
Step 8: Reinstall the Door
After the door and tracks are clean and dry, it's time to put the door back in place. Start by aligning the rollers with the tracks. Lower the door gently into the tracks, making sure the rollers fit snugly. Once the door is in place, tighten the screws or bolts on the rollers to secure them. Test the door by sliding it back and forth to make sure it moves smoothly.
Step 9: Reinstall the Screen Door (if applicable)
If you removed the screen door earlier, now is the time to put it back. Align the screen door with the tracks and gently lower it into place. Make sure the clips or rollers engage properly. Test the screen door by sliding it back and forth.
Tips and Tricks
- If you're having trouble removing the rollers, try using a lubricant like WD-40. Just spray a little on the screws or bolts and let it sit for a few minutes before trying again.
- Don't use abrasive cleaners or tools on the glass or frames, as they can scratch the surface.
- Regularly clean your sliding glass door to prevent dirt and grime from building up. This will make the cleaning process easier in the long run.
Conclusion
Removing a sliding glass door for cleaning might seem like a complicated task, but with the right steps and a little patience, it's definitely doable. By following these steps, you can keep your sliding glass door looking and functioning its best.
If you're in the market for a new sliding glass door or need more information about our products, feel free to reach out to us. We're here to help you find the perfect door for your home. Whether you're looking for a stylish patio door or a practical screen door, we've got you covered. Contact us today to start the conversation and explore our wide range of options.
References
- General knowledge from years of experience as a sliding glass door supplier.
- Industry best practices for sliding glass door maintenance and cleaning.