


Hey there! If you're here, chances are you've got a sliding glass door and you're looking to seal it up. Well, you've come to the right place. I'm a supplier of sliding glass doors, and I've seen my fair share of sealing jobs. In this blog, I'll walk you through the steps to seal your sliding glass door like a pro.
Why Seal Your Sliding Glass Door?
Before we dive into the how-to, let's talk about why you should seal your sliding glass door in the first place. A well-sealed door can do wonders for your home. It can keep out drafts, which means your heating and cooling systems don't have to work as hard. That translates to lower energy bills, and who doesn't love that?
Sealing also helps keep out dust, dirt, and pests. You won't have to worry about bugs sneaking in or dust piling up on your floors. Plus, it can reduce noise from the outside, giving you a quieter and more peaceful home environment.
What You'll Need
To seal your sliding glass door, you'll need a few tools and materials. Here's a quick list:
- Weatherstripping: This is the main thing you'll use to seal the gaps around the door. There are different types, like foam, rubber, and vinyl. Choose the one that suits your door best.
- Silicone Caulk: You'll use this to seal any cracks or gaps in the frame.
- Caulk Gun: This is used to apply the silicone caulk evenly.
- Utility Knife: To trim the weatherstripping and caulk.
- Measuring Tape: To measure the length of the door and the gaps.
- Cleaning Supplies: Like a damp cloth and some mild detergent to clean the door and frame before you start.
Step 1: Clean the Door and Frame
The first step is to give your sliding glass door and its frame a good clean. Use a damp cloth and some mild detergent to remove any dirt, dust, or grime. Make sure to dry it thoroughly before you move on. A clean surface will ensure that the weatherstripping and caulk adhere properly.
Step 2: Measure and Cut the Weatherstripping
Measure the length of the gaps around the door. You'll need to measure the top, bottom, and sides. Once you have your measurements, cut the weatherstripping to the appropriate length using a utility knife. Make sure to leave a little extra length at the corners to ensure a proper seal.
Step 3: Install the Weatherstripping
Start by applying the weatherstripping to the top of the door frame. Peel off the backing and press the weatherstripping firmly into place. Make sure it's straight and evenly aligned. Then, move on to the sides and bottom of the frame, repeating the process. At the corners, you can overlap the weatherstripping slightly to create a tight seal.
Step 4: Seal the Cracks with Caulk
Inspect the door frame for any cracks or gaps. If you find any, use a caulk gun to apply silicone caulk to these areas. Make sure to fill the cracks completely. Smooth out the caulk with a damp finger or a caulk smoothing tool. Let the caulk dry according to the manufacturer's instructions.
Step 5: Check the Door's Alignment
After you've installed the weatherstripping and sealed the cracks, check the alignment of the door. Make sure it slides smoothly and that the seal is tight. If the door is sticking or not sealing properly, you may need to adjust the weatherstripping or the alignment of the door itself.
Different Types of Sliding Glass Doors and Sealing Considerations
Now, let's talk about different types of sliding glass doors and how sealing might vary for each.
Insulated Sliding Door
Insulated sliding doors are great for energy efficiency. They have special insulating materials that help keep your home warm in the winter and cool in the summer. When sealing an Insulated Sliding Door, you want to make sure the weatherstripping you choose is also insulating. Look for weatherstripping with good R-values. This will enhance the door's insulation properties even further.
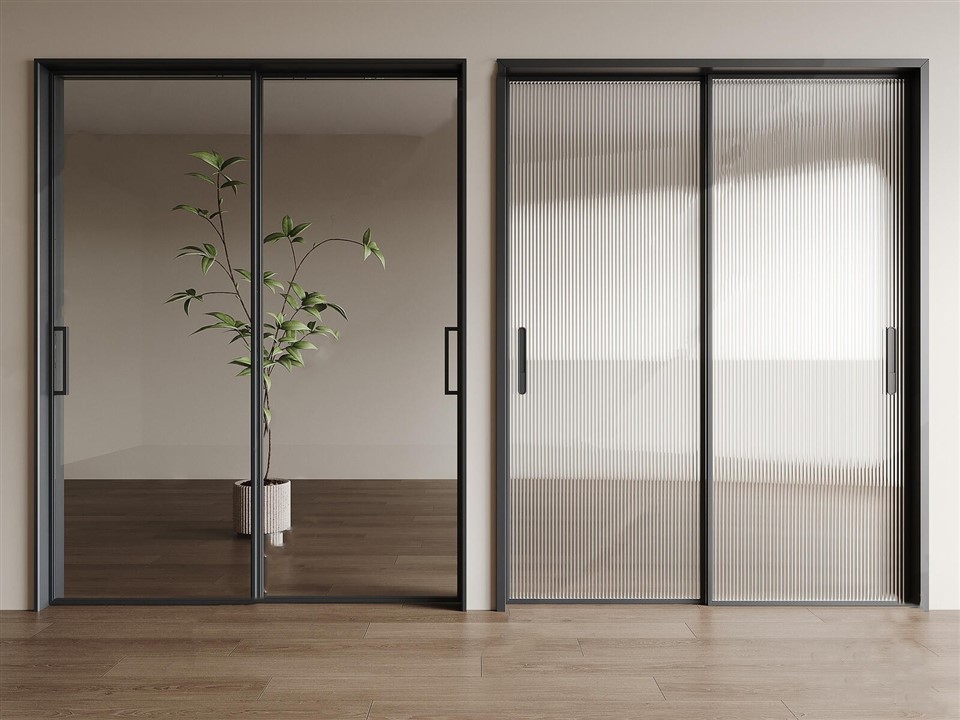
Big Aluminium Sliding Doors
Big aluminium sliding doors are popular for their modern look and durability. Aluminium frames can expand and contract with temperature changes, so you need to choose weatherstripping that can accommodate these movements. A good quality rubber or vinyl weatherstripping is a great choice for Big Aluminium Sliding Doors. Also, pay extra attention to sealing the edges of the glass to prevent air and water leakage.
Sliding And Pivot Patio Doors
Sliding and pivot patio doors offer a unique combination of functionality and style. When sealing Sliding And Pivot Patio Doors, you need to seal both the sliding and pivoting parts. Make sure the weatherstripping is flexible enough to allow for the movement of the door. You may also need to use a different type of weatherstripping for the pivot points to ensure a proper seal.
Tips and Tricks
- If you're not sure which type of weatherstripping to choose, ask a professional at your local hardware store. They can help you pick the right one for your door.
- When applying the caulk, work in small sections to ensure an even application.
- Check the seal regularly, especially after extreme weather conditions. Over time, the weatherstripping and caulk may wear out and need to be replaced.
The Bottom Line
Sealing your sliding glass door is a relatively simple DIY project that can have a big impact on your home's comfort and energy efficiency. By following these steps and using the right materials, you can keep your home cozy, quiet, and free from pests.
If you're in the market for a new sliding glass door or need more information on sealing, I'm here to help. As a sliding glass door supplier, I've got a wide range of options to suit your needs and budget. Whether you're looking for an energy-efficient insulated door or a stylish aluminium one, I can provide you with the best products and advice.
Feel free to reach out to me if you have any questions or if you're interested in purchasing a sliding glass door. I'd be more than happy to assist you in finding the perfect door for your home and ensuring it's properly sealed.

References
- Home Depot DIY Guides
- Lowe's Home Improvement Blog