

Hey there! As a sliding window supplier, I'm super stoked to share with you how to use the sliding window for image processing. It's a pretty cool technique that can be super useful in a bunch of different scenarios.
So, first off, what exactly is a sliding window in the context of image processing? Well, think of it as a little rectangular frame that you move across an image. This frame has a fixed size, and as it slides over the image, it captures different parts of it. You can then perform various operations on the portion of the image that's inside the window.
Let's start with the basics of how to implement a sliding window. In most programming languages used for image processing, like Python with libraries such as OpenCV, it's not too hard to set up. You'll typically need to define the size of the window, which is usually specified by its height and width in pixels. For example, you might have a 32x32 pixel window.
Here's a simple Python code snippet to give you an idea of how it works:
import cv2

# Load an image
image = cv2.imread('your_image.jpg')

# Define the window size
window_size = (32, 32)

# Get the height and width of the image
height, width = image.shape[:2]

# Slide the window across the image
for y in range(0, height - window_size[1], 10):
    for x in range(0, width - window_size[0], 10):
        # Extract the window from the image
        window = image[y:y + window_size[1], x:x + window_size[0]]

        # You can perform operations on the window here
        # For example, you could calculate the average color
        average_color = cv2.mean(window)

        print(f"Average color in window at ({x}, {y}): {average_color}")
In this code, we're sliding the window across the image in steps of 10 pixels both horizontally and vertically. Inside the nested loops, we extract the portion of the image that's inside the window and then calculate the average color of that portion.
One of the most common uses of the sliding window in image processing is object detection. You can use a pre - trained classifier to check each window to see if it contains the object you're looking for. For instance, if you're trying to detect faces in an image, you can slide a window across the image and use a face classifier to determine if there's a face in each window.
Let's say you have a classifier that returns a score indicating how likely it is that the window contains a face. You can set a threshold, and if the score is above that threshold, you mark that window as containing a face.
Here's a more advanced example using a pre - trained Haar cascade classifier for face detection in Python:
import cv2

# Load the pre - trained face detector
face_cascade = cv2.CascadeClassifier(cv2.data.haarcascades + 'haarcascade_frontalface_default.xml')

# Load an image
image = cv2.imread('your_image.jpg')

# Convert the image to grayscale
gray = cv2.cvtColor(image, cv2.COLOR_BGR2GRAY)

# Detect faces in the image using the sliding window approach
faces = face_cascade.detectMultiScale(gray, scaleFactor = 1.1, minNeighbors = 5, minSize=(30, 30))

# Draw rectangles around the detected faces
for (x, y, w, h) in faces:
    cv2.rectangle(image, (x, y), (x + w, y + h), (0, 255, 0), 2)

# Display the image with detected faces
cv2.imshow('Faces detected', image)
cv2.waitKey(0)
cv2.destroyAllWindows()
In this code, the detectMultiScale function is using a sliding window approach under the hood. It slides a window across the grayscale image, and for each window, it checks if it contains a face using the pre - trained Haar cascade classifier.
Another cool application of the sliding window is image segmentation. You can use it to divide an image into smaller regions and then classify each region based on its characteristics. For example, you might want to segment an aerial image into areas of vegetation, water, and buildings.
You can adjust the size of the sliding window depending on the task at hand. A smaller window size can provide more detailed information but might also be more computationally expensive. On the other hand, a larger window size can give you a more general overview of the image but might miss some fine - grained details.
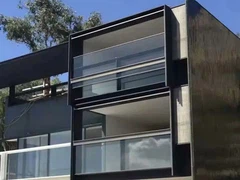
Now, if you're looking for sliding windows for your physical spaces, we've got some great options. Check out our Sliding Glass Windows For Sunroom. These are perfect for creating a bright and airy sunroom where you can relax and enjoy the view.
If you need a custom - made sliding window, we've got you covered too. Our Custom Sliding Window service allows you to get a window that fits your exact specifications.
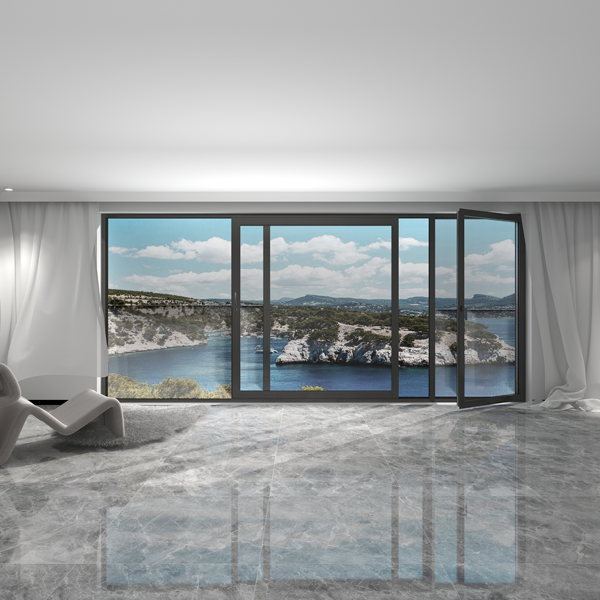
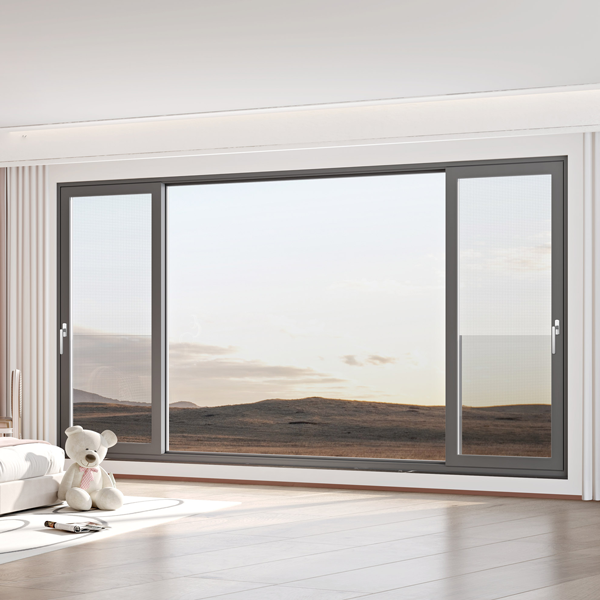
And for those with porches, our Large Sliding Windows For Porch are a great choice. They let in plenty of light and fresh air while adding a touch of elegance to your porch.
Whether you're into image processing or need sliding windows for your home, we're here to help. If you're interested in our products, don't hesitate to reach out for a procurement discussion. We can talk about your needs, get you a quote, and make sure you get the best sliding windows for your project.
References
- OpenCV Documentation
- Image Processing textbooks
So, that's a wrap on how to use the sliding window for image processing. I hope you found this blog post helpful. If you have any questions, feel free to ask!